


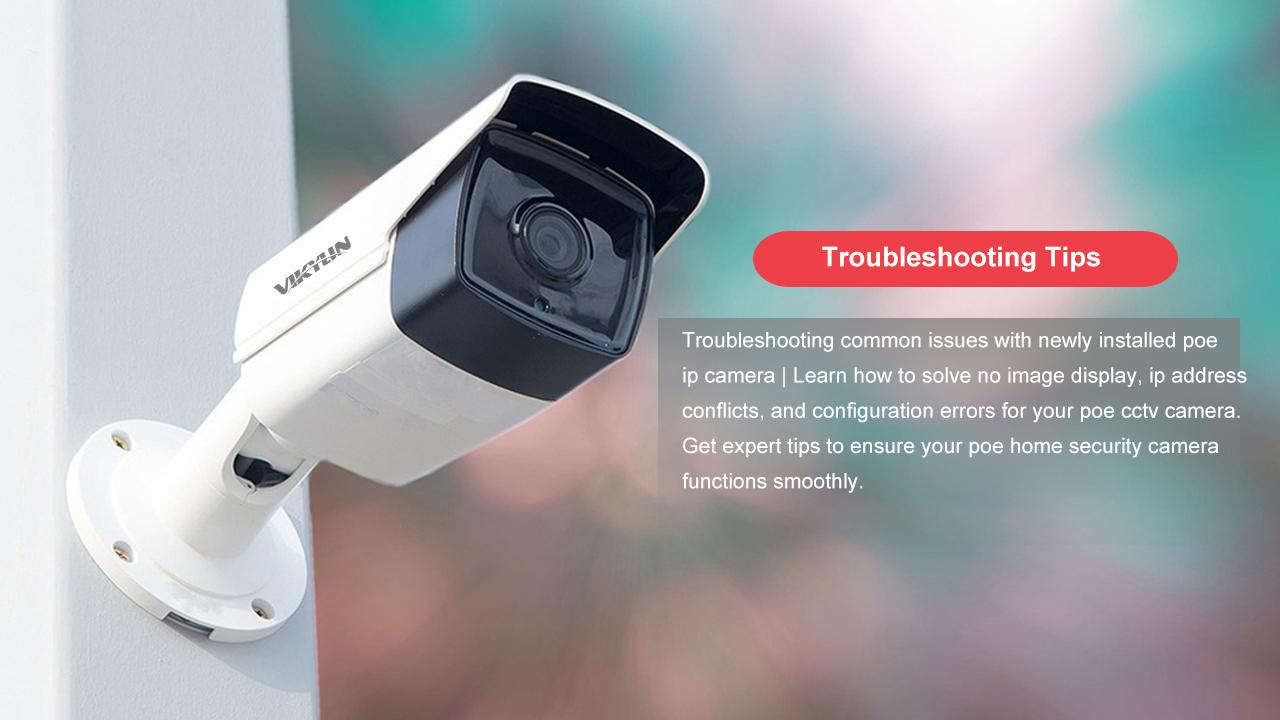
One of the most common issues encountered after installing PoE IP camera is no image display, especially with newly installed poe ipcam. This problem can have several causes. First, you should check if the network cables are properly connected, ensure that the cable transmission does not exceed its limits, and verify that the connectors (crystal heads) are correctly installed. If, after these basic checks, you still encounter image display problems and see an unknown error, here’s what you can do:
PoE Home Security Camera Not Activated Before Adding
Typically, newly installed security ip camera channels require activation before they can be added. In the DVR/NVR main menu, navigate to Channel Management > Channel Configuration > IP Channel. Click on the unactivated IP cameras one by one or select “One-Click Activation” for all devices. A pop-up activation window will appear where you can create a password to successfully add the devices. Unactivated devices won’t display surveillance images.
Ip Addresses of Cameras And DVR/NVR In Different Subnets
Before configuring new PoE CCTV camera, ensure that the IP address of the DVR/NVR and the cameras are in the same subnet. In the DVR/NVR main menu, go to System Configuration > Network Configuration > Basic Configuration > IPV4 Address to modify the DVR/NVR IP address. Use an internal network search tool to batch modify camera IP addresses, and specify starting IP, port, subnet mask, and gateway information.
Adding Third-Party Cameras Is Not Correctly Configured
Make sure to change third-party cameras to ONVIF protocol and add the corresponding port information for ONVIF protocol when adding devices.
Additionally, if you’re adding Hikvision cameras, you may need to log into the camera and follow these steps: [Configuration] > [System] > [Security Management] > [Security Service], uncheck the box for “Enable Illegal Login Lock,” and then click [Save].
DVR/NVR Channel Stream Type Doesn’t Match Camera Encoding
If your security camera PoE uses H.265 encoding, while your DVR/NVR uses H.264 encoding, it won’t display a proper image. Access the camera’s web interface, go to Configuration > Encoding Parameters > Recording Parameters, change the video encoding to H.264, save and apply. On the DVR/NVR, delete the original channel and re-add the camera for proper display.
Camera Resolution Exceeds DVR/NVR’s Supported Limit
When the camera’s resolution is higher than what the DVR/NVR supports, the Hikvision DVR typically won’t display the image and may indicate insufficient resources. To resolve this, go to DVR/NVR settings, Configuration > Encoding Parameters > Recording Parameters, and lower the main stream resolution and bit rate. Delete the original channels and re-add the devices.
Incorrect Channel Mode or Unstable Camera Voltage
For newly installed surveillance systems supporting both analog and IP cameras, you may need to adjust the channel mode. In the DVR/NVR main menu, go to Channel Management > Channel Configuration > Signal Input Status, and select the appropriate signal input type for each channel: CVBS for analog, TVI for Hikvision coaxial cameras, AHD for AHD cameras, and IPC for network cameras. Additionally, check the camera’s power voltage to ensure it’s stable and within the range of approximately 12V, 2A. You can use a multimeter for direct voltage testing.
Add Cameras To A Hikvision DVR with Exclamation Mark and Unknown Error
This “unknown error” message is typically caused by a mandatory password change requirement for all Hikvision products, especially for network surveillance cameras version 5.3.0 and above, when the DVR’s firmware is outdated.
Here’s how to resolve this issue:
- Visit the official Hikvision website: https://us.hikvision.com/en/support-resources/firmware
- Navigate to “Service Support” > “Downloads” > “Device Upgrade Package Download” and choose the appropriate device upgrade package based on your DVR model.
- After downloading the upgrade package, unzip the files locally. Place the “digicap.dav” file onto a FAT32-formatted USB drive.
- Insert the USB drive into your DVR and access the DVR’s main menu. Select “System Maintenance.”
- In the system maintenance menu, choose “Version Upgrade” and select the upgrade file that corresponds to your DVR’s version.
- Select the “digicap.dav” upgrade file and click on the “Upgrade” option at the bottom of the DVR menu.
- During the system upgrade, ensure that the power supply remains stable and do not manually turn off the power or disconnect it. The DVR will automatically restart after the upgrade is complete.
- After the system restarts, you will be prompted to forcibly change the DVR’s admin password. Follow the on-screen instructions to set a new password.
- To add inactive cameras, access the main menu and select “Channel Management.”
- After clicking “Activate,” make sure to check the option “Use Device Admin Password” and ensure that the camera’s activation password matches the DVR’s admin password. This will complete the camera activation process.
Once you’ve completed these steps, the issue with the yellow exclamation mark in channel management should be resolved, and you should be able to add ipcam PoE successfully after the upgrade.